
Blog Layout
6 Reasons Why Fall Home Building Tips Can Make You Rich
Nicky Becky • Feb 03, 2021
Home Maintenance & Renovation Tips To Increase Home Value

To some of us it still feels like summer with temps in the 80’s, humidity and lack of a cool breeze – but sooner or later we’ll be thinking of stocking up on snow shovels and salt. But, before we even think about old man winter let’s consider fall. This season is a favorite of many because of its mild temperatures and all the beautiful color it brings – which is why it’s a great time to spend some time outdoors and to prep your home for colder temperatures to save money later. Who wouldn’t want to have some cash left over come Spring?
Anticipating the colder temps and taking the time now to do some general maintenance to the interior and exterior of your home could end up saving you hundreds – maybe even thousands of dollars! So, let’s do the math. What is the outcome, in numbers, of preserving your home for winter?
Painting Your Home Exterior
The value in painting your home’s exterior not only increases its aesthetic value, but it will also make it stand out if you are considering selling it shortly or even a few years from now. In fact, many real estate agents attest that by doing so you can reap, on average a 140% return on your investment. Secure a highly experienced professional to the job, and you could see gains up to 300%. Primarily, the higher the quality of work – the better your return and the more money gets added back into your pocket.
Out of all ways to give your home, an upgrade painting your house is one of the top suggestions for improving its value. If you compare painting your home to a kitchen or bathroom renovation – these improvements, surprisingly, will only get you a return of around 80%.
Realtor Magazine says that “Low-cost projects like painting, trimming and detailing, give you the best returns. Plus, they are affordable improvements that you can start working on right away.”
Keep in mind that hiring a professional when it comes to exterior painting is the best idea if you are seriously considering this type of improvement. As you know, curb appeal is BIG. Think of the exterior of your home as a first impression. The quality of the paint
job is imperative. Avoid paint bubbles, drippings, and unusual color palettes. Yellow, white and other colors that fall into this color segment are the best choices.
Heating Tape
According to Summit Community Power Works (SCPW), you can reduce your electric bill up to 40% by using heat tape. This type of tape is not “tape,” instead it’s an electrical heating cable (round or flat) that is used to keep your plumbing pipes from freezing during the colder months of the year.
There are a few types of heating tape. The most common are known as non-regulating. It can be purchased by the foot and plugs into an outlet. However, it is important to point out that if you are planning on using heating tape in an unattended situation – such as a vacation home where you are not present year-round, then you want to consider the regulating type of tape.
Heat tape fires can happen if a non-regulating tape is left unattended for long periods of time and during warmer weather. Heat tape malfunctions cause the heat levels to increase faster than the heat is distributed. It’s a good idea to unplug the tape when temperatures heat up above freezing or you can purchase the regulating type from the start.
Regulating heat tape (or cable) varies the heat output automatically by gauging the surrounding temperatures. It can be cut to specific lengths. This type of tape is also found bundled and sold in kits for heating roofs or gutters.
Be sure and read the directions very carefully before installing the tape. Never overlap the tape and keep it away from moist areas or locations that may get wet. Also, proper insulation will ensure heat tape efficiency reaching the pipes you intended for its use instead of leaking into a larger space.
It’s important to keep in mind that even heating tape can run up your electric bill, so make sure you are unplugging it once temperatures reach above freezing. Heat tape can save you a ton of money if your pipes burst from being too cold or if they freeze, so better safe than sorry.
Window and Door Sealing
Did you know that as much as 65% of a home’s total energy bill, according to General Electric (GE) is used to heat and cool the home – and beyond that up to half of your home’s air is leaking outdoors due to an old, or rough-looking window and door sealants? Repairing these leaks is essential and the good news is that it’s easy to take care of and can save you hundreds of dollars!
Change in temperature causes windows and doors to contract and expand. This causes leaks and could be costing you a pretty penny making your home less energy efficient. According to the Energy Star program, most of us could save close to 20% or more on heating costs by repairing leaks and cracks around doors and windows.
The first step, before you begin caulking or sealing, is to check where your leaks are happening. Take a look at the exterior of your home and notice any areas where caulking is old, cracking or even falling off. If you have old-single paned windows look out for damaged glazing which is the harder putty that holds the glass in place to the frame.
When it’s time to inspect the inside take a look at your doorways – especially underneath. Pay attention to any signs of light creeping through or air. Examine the weather stripping around windows and doors too.
Use incense to inspect leaks that cannot be seen with the naked eye. To do this, close all windows and doors, turn off the furnace and water heater. Switch on the kitchen and bathroom exhaust vents, light the incense and hold it close to the edges of your windows and doors to see if there is any change in the smoke rising from the incense. If you do have a leak – the smoke will move and waiver.
A few other areas to check include:
Attic and ceiling
Ducts
Foundation
Fireplace
Walls
Once you have located your leaks, do your homework on the proper techniques of caulking. Here are just a few to keep in mind.
Purchase the right type of caulk – Use 100% silicone, not acrylic
You need a caulk gun – The cartridge of caulk is not manual, you need a caulking gun
Remove old caulk – Use a razor blade to remove the old stuff and then clean the area before applying the new caulk
Application is everything – Hold the gun at a 45-degree angle, don’t press too hard and keep an even amount of pressure from start to finish
Don’t forget the tooling – “Tooling” (a.k.a. smoothing) is an important step not to skip and is done by running your finger along the length of the caulk to seal it and help to fill the gap
Remember no water – Read the instructions and make sure the caulk is not exposed to water, so it has time to dry – some brands instruct you to wait up to 24 hours
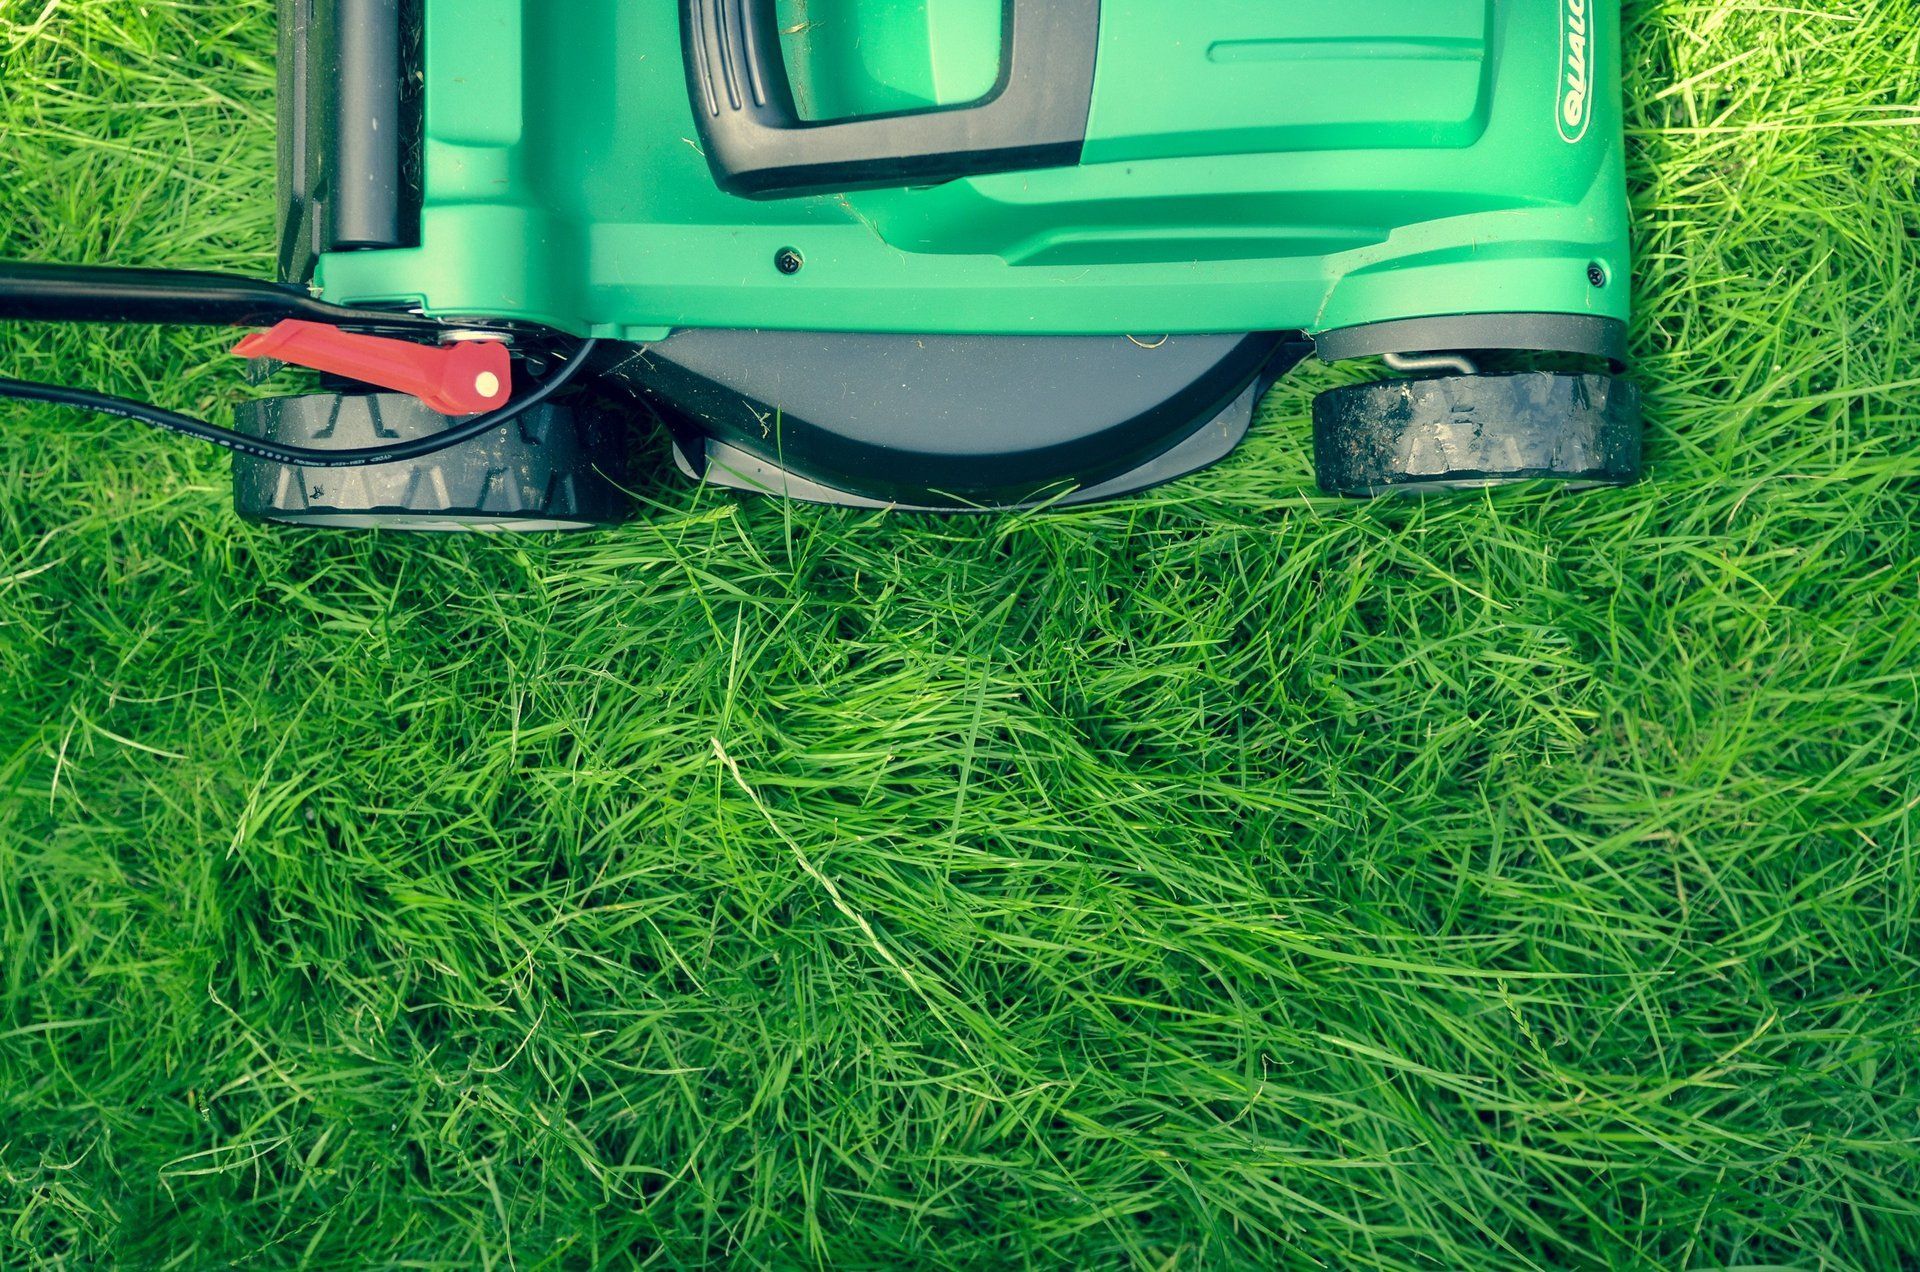
Aerating Your Lawn and Fertilization
Aerating your law can save you money? Yes, it’s true. Mark LeChevallier, vice president and chief environmental officer for American Water, the most significant publicly traded American water, and wastewater utility company, states that, “It takes 660 gallons of water to supply 1,000 square feet of lawn – the same amount of water you use inside the house in an entire week.”
Water usage varies quite a bit across the country mostly due to differences in weather temperatures. For example, water use tends to be higher in drier parts of the country than those wetter parts. However, overall you can see from this chart provided by the Environmental Protection Agency (EPA) that most water use happens outdoors. Take a look at the chart below.
Because its most used outside, this is the biggest area of opportunity for you to lower your water consumption and ultimately save money.
Now that you understand there is a cost savings connection to lawn aeration let’s dive into what aeration is and how it can fatten up your wallet.
Aerating the lawn is a process of making holes throughout your yard in order to loosen it up and improves saturation of air and water – penetrating the roots below. Aeration makes for a healthier, happier lawn. It prevents thatching (grass build-up) and soil compaction. Both of these issues prevent your lawn from getting the air and water it needs – causing you to water it more frequently.
Add fertilizer at the same time you are planning to aerate your lawn. It will increase the efficiency of the process and take your aeration up a notch!
Here are the steps you need to take:
Rent a lawn aeration machine. These machines can be found at your local hardware store. If you have a small lawn, a manual aerator works best. For more extensive lawns rent a motorized machine. If you own a riding mower – check your owners’ manual before renting an aerator because your mower might already have a spike or aerator attachment.
You may need to install soil plugs. If you do have a lot of thatch or grass build up, it’s a good idea to purchase soil plugs to install into your lawn during aeration. These plugs remain in the ground and will eventually decompose breaking up the rough patches.
Fertilize immediately. As soon as you are done aerating, spread the fertilizer.
Don’t forget to add water. As the last step, water your lawn thoroughly. You may want to water it a few times not just once to ensure water reaches the roots and sinks into the soil fully.
Carbon Monoxide and Smoke Detector Check-Ups
According to the Appraisal Management Company, currently, there are 19 states within the U.S. that have passed laws requiring carbon monoxide (CO) detectors in homes. Do not confuse CO detectors with smoke detectors – they are different, and smoke detectors have been expected in homes for many years now.
They are both equally important and should regularly be tested to ensure they are working correctly. You may need to change the batteries or purchase a new one. Most detectors last around ten years, but it is recommended that you explore replacement closer to year five or seven.
Both units feature a “test” button which can simply be pressed when you are ready to perform your check. So, it’s pretty easy – no excuses.
There are a few ways these two detectors can save you time, money and maybe even lives. Here are a few scenarios:
Home inspections – Both are required to pass a home inspection, and if they are not present you will be required to install them and then have to pay an additional $150-$200 to get the home re-inspected. For a mere $30 you can purchase a CO and smoke detector – obviously save you time and money when it comes to a home inspection.
CO poisoning – The CDC reports that more than 400 people died annually between 1999 and 2014 from non-fire related CO poisoning and several others hospitalized because of the exposure and symptoms it caused. So, you do the math. Spend $20 on a detector or spend $0 to perform a regular check-up. Or, spend hundreds, even thousands of dollars if something should happen and you or a family member is exposed to the dangerous poison.
A home fire – Joseph Fleming, a deputy chief of a major municipal fire department says that for many years he’s been preaching the importance of not just installed smoke detectors, but working ones. He’s analyzed the number of home fires over the past several years – the study shows that homes with no smoke alarm or a dysfunctional alarm caused 1,640 deaths out of 99,800 fires. This is just the tip of the iceberg. Injuries and hospitalizations are not even included in these numbers so it’s evident that not only a cost savings is available, but more importantly, a life-saving opportunity.
For more information on the best carbon monoxide detectors, please visit https://www.safewise.com/resources/carbon-monoxide-detectors-guide
For a list of the top-rated smoke detectors/alarms, visit https://www.safety.com/smoke-detectors/#gref
Gutter and Downspout Clearing
Cleaning out gutters and downspouts can save you a ton of money. Feeling skeptical? Well, you might be quite surprised after reading this. Clearing your gutters out at least twice a year is recommended and can save you hundreds of dollars by avoiding repairs and gutter replacement. Also, when you’re cleaning gutters and downspouts it allows you to inspect and look for warning signs of more significant issues such as:
Sagging
Mold
Mildew
Leaks
These are real problems to some homeowners, but that’s nothing when it comes the larger issues related to ignoring the upkeep of gutters and downspouts. Take a look at some of these major areas of concern – they will make you think twice about getting the ladder out and doing a bit of dirty work to save you a whole lot of money and headache.
Foundation repair – If your gutters aren’t in working order, rainwater will creep down into the base of your home at its foundation and over time create excessive moisture causing cracks or shifts. You can expect to pay at least $5,000 (in most cases more) to repair a foundational issue.
Flooded basement – Gutter back up can cause runoff water collection near your basement – which then seeps inside through your walls and windows causing some real damage to ceilings, flooring, furniture and even appliances. Repair costs can vary but can run as high as $10,000, and that doesn’t include the cost to have the excess water pumped from your basement – which typically runs about $5,000.
Flooded landscaping – You’ve created an outdoor oasis at home, but did you know that if you are not clearing your gutters and downspouts, often it can lead to water saturating your plants and foliage and dissolving the backyard of your dreams. Landscaping companies can charge as much as $7,000 to fix a catastrophe like this.
Exterior damage – When your gutters are clogged the water spill over and leaking onto your home’s exterior (maybe even that new paint job) leads to rotting fascia boards and siding. You could also experience peeling or chipping paint. These repairs can cost as much as $5,000.
Conclusion
Enjoy these last days of summer, but begin thinking now about what you’re going to do to prepare your home for the colder temps. Make your list, hit the hardware store and get your family involved. Have them help you with some of the general areas of concern. You know what you need to know now, so if you’re into saving money and want to enjoy your spring and summer instead of spending it on costly repairs – it’s time to get to work.
We hope you found this information helpful. Please give us a call at (410) 836-6770 or contact us
with any questions.
We’re happy to help!

7 Plants You Should Plant Right Now For Springtime

5 Home Improvement Job Ideas That Will Add Massive Value To Your Home in 2024
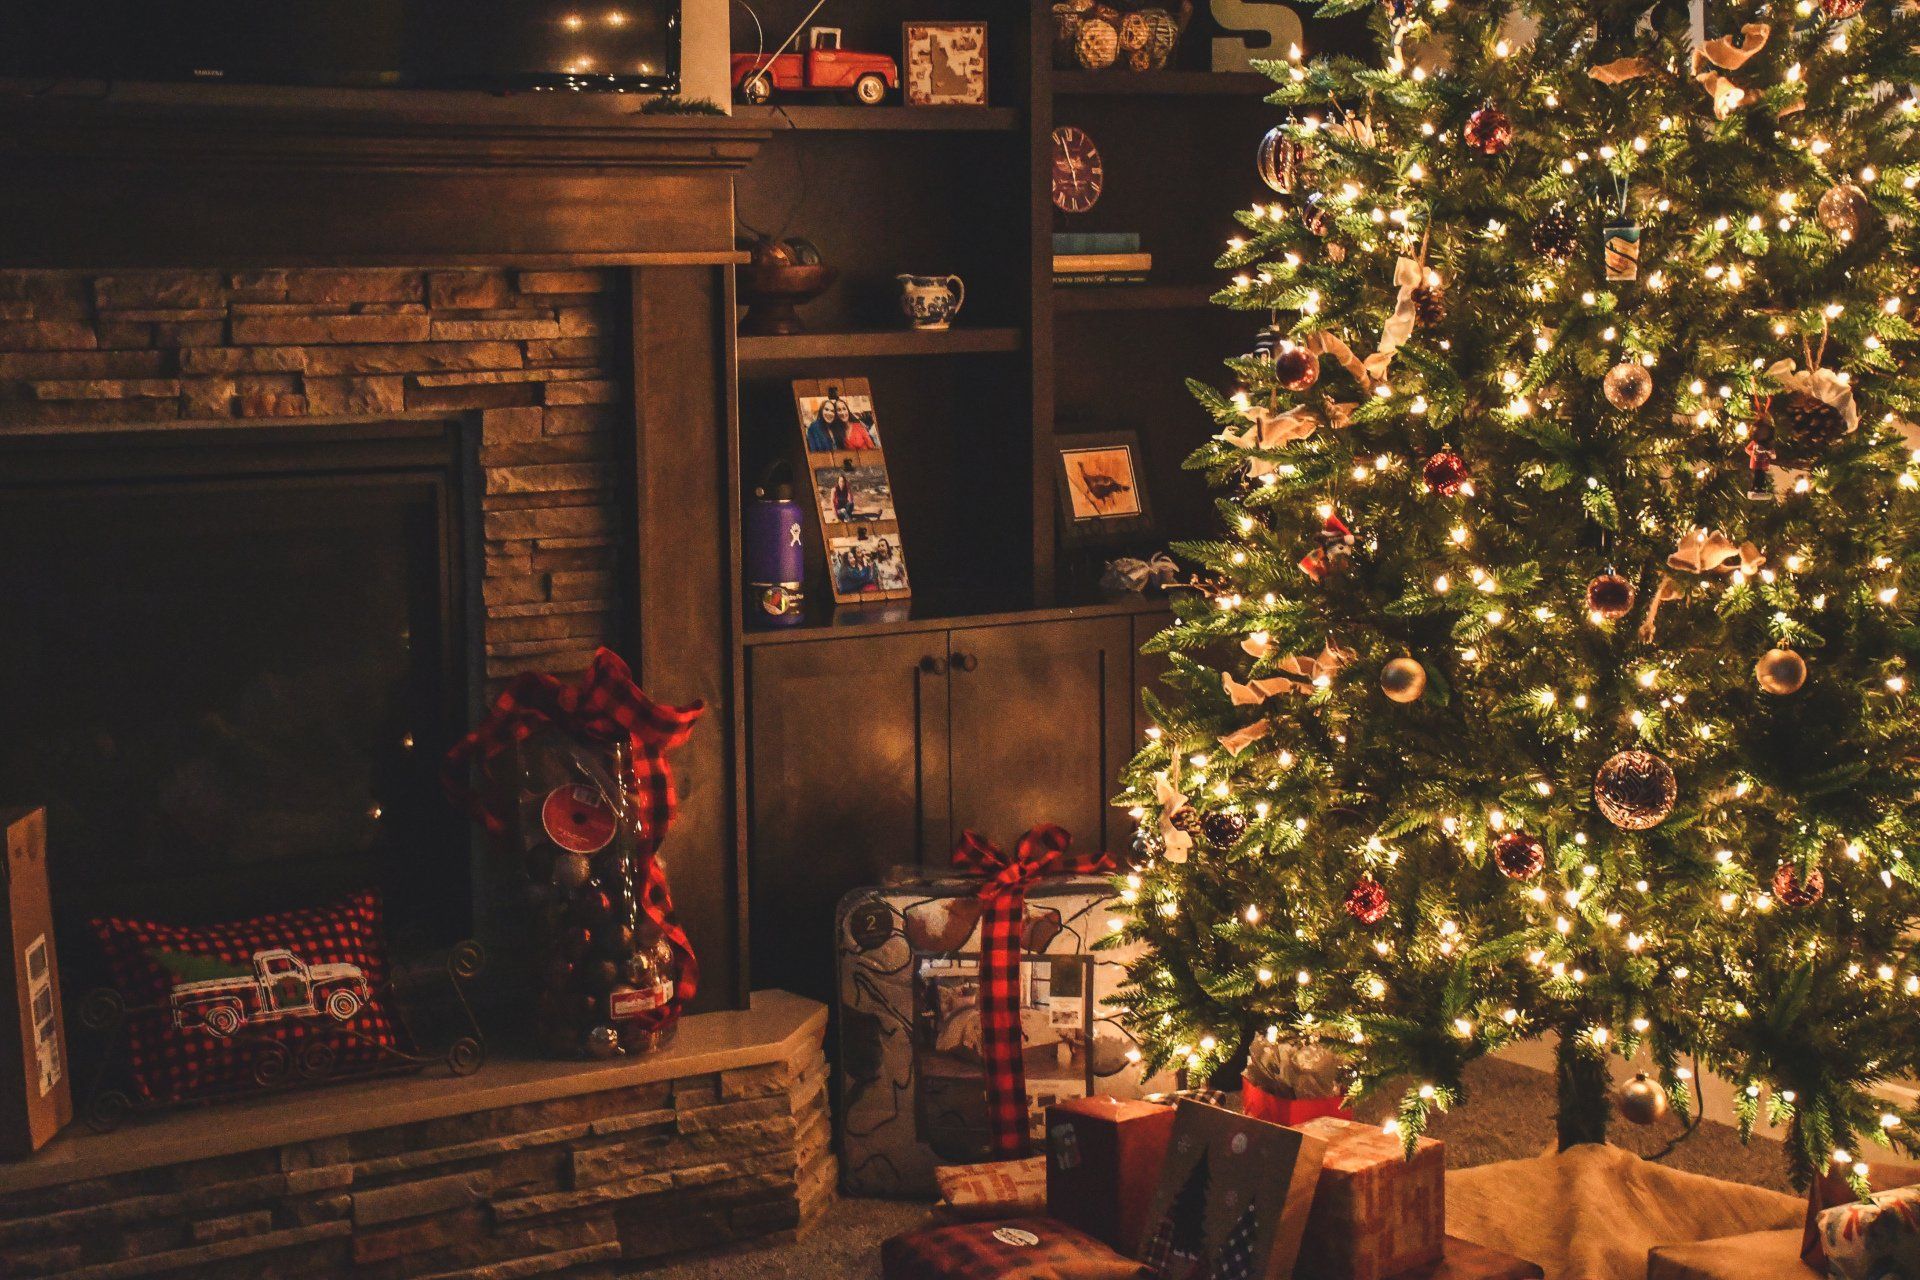
10 Step Checklist To Make Your Home The Most Festivous On Your Block This Christmas Season

These are the ten easy home improvement steps you'll need to take to get your home ready for the fall season!

Now that you've prepared your home for the summer season, it's time to learn how to keep it as cool as possible... while saving some money!

Your 10-Point Home Improvement Checklist To Get Your Home Summer-Ready During The Springtime
Make your neighbors jealous of your lawn this spring. Follow these steps, and you'll have the most beautiful lawn on your entire block!

Follow these easy steps to make sure your home is protected from this winter's harsh weather!

In this blog post, Kefauver Lumber Co. outlines why & how you should mulch your leaves with a lawnmower this fall season, instead of raking them.

Here's a list of 5 easy things you can do yourself to make your garden look beautiful in the spring of 2022.